


Unfortunately, there's no way to load scene files into the FS100 with a memory card, so you'll have to dial in my settings manually to try them out. Below you'll find my settings and images from the camera. Try them out and let us know what you think. To learn more about creating your own picture profiles, you can also check out our FS100 class in NYC and Los Angeles.
EDIT: You can now download and load the Picture Profiles directly in to your camera. You must have firmware version 2.0 installed first. After you uncompress the file, drag the "Private" folder to the root directory of an SDHC card or Memory Stick. In the "Others" menu of the camera, you can load all of the Picture Profiles via the "Camera Profile" option. This will overwrite any menu and assignable button settings you have!
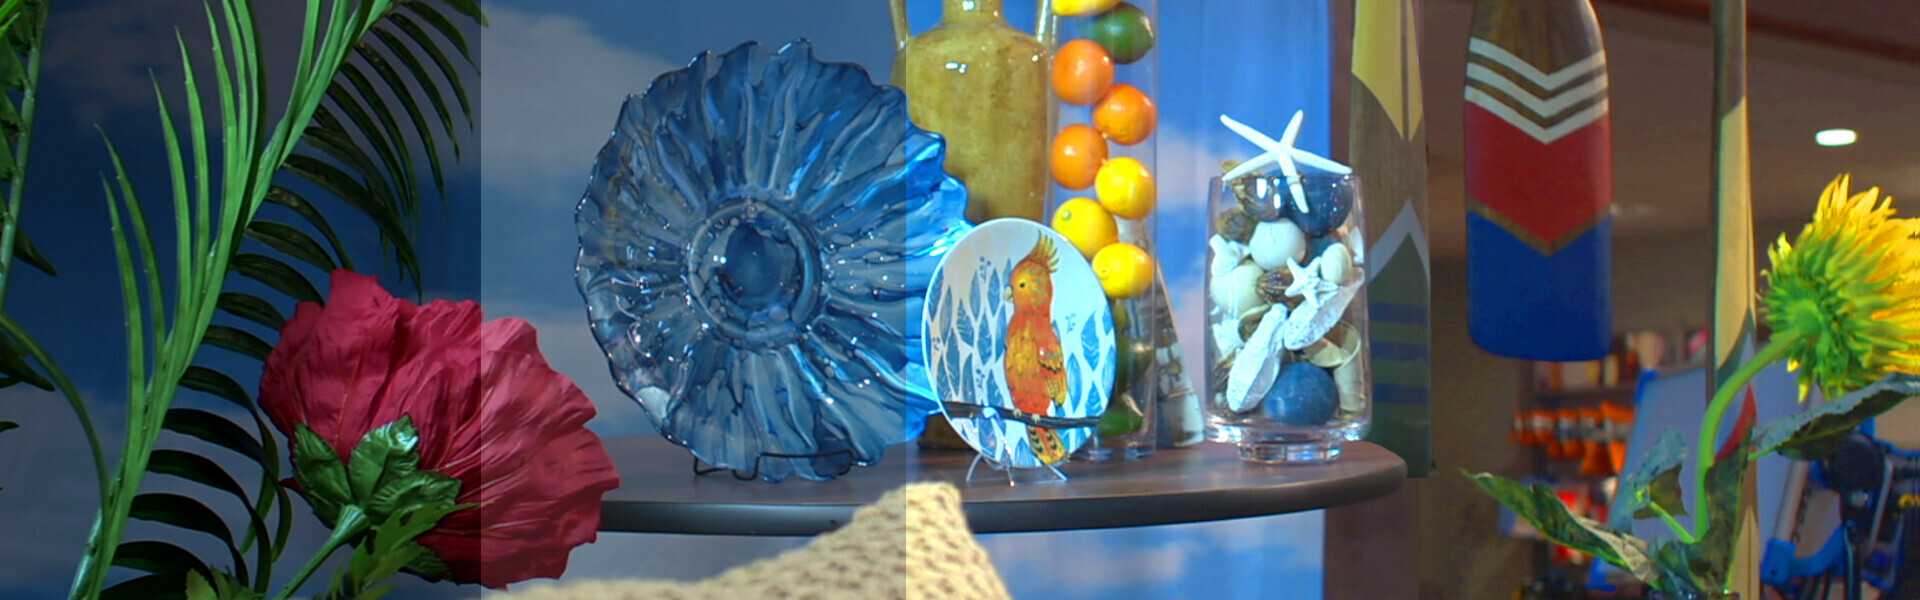
FS100 Standard
 This is the standard setting that the camera comes with for use as reference.
AB_NORM
 This is what I call the AbelCine Normal look, which has minimal adjustment and is intended for controlled lighting scenarios and studio work. I used the ITU709 gamma curve with a 85% knee point and -2 slope to maximize dynamic range. The rest of the settings were chosen to match my AB_NORM look in the F3.
- Black Level: -3
- Gamma: ITU709
- Black Gamma: Range = High / Level = 0
- Knee: Point = 85% / Slope = -2
- Color Mode: Type = Cinematone1 / Level =8
- Color Level: -3
- Color Phase: 0
- Color Depth: R=-2, G=-6, B=-7, C=0, M=+2, Y=+5
- WB Shift = All 0
- Detail = Level = -3 / Manual Set = Off
AB_HILIT
 This is what I call the AbelCine Highlight look, which has the same minimal adjustment found in AB_Norm but uses the CinemaTone1 gamma curve. I then changed the knee point and slope to again maximize dynamic range. It is intended for use in scenes with bright highlight ranges, such as a bright day. The image above appears dark because the setting is intended for this type of high contrast scenario. Check out my settings below.
- Black Level: -2
- Gamma: CinemaTone1
- Black Gamma: Range = High / Level = 0
- Knee: Point = 102.5% / Slope = -1
- Color Mode: Type = Standard / Level =8
- Color Level: +1
- Color Phase: +1
- Color Depth: R=-2, G=-6, B=-7, C=0, M=+2, Y=+5
- WB Shift = All 0
- Detail = Level = -3 / Manual Set = Off
AB_RANGE
 Still building on the AB_Norm look, this file is called AbelCine Range because it maximizes the full range of the camera. I've taken the same adjustments in AB_HILIT and reduced the saturation overall, which helps in post. I've increased the black levels to push up any details that might be lost. The CinemaTone1 gamma curve is used with my knee point settings that get the most out of the sensor. Check out my settings below.
- Black Level: 0
- Gamma: CinemaTone1
- Black Gamma: Range = High / Level = +7
- Knee: Point = 102.5% / Slope = -1
- Color Mode: Type = Standard / Level =8
- Color Level: -3
- Color Phase: +1
- Color Depth: R=-2, G=-6, B=-7, C=0, M=+2, Y=+5
- WB Shift = All 0
- Detail = Level = -3 / Manual Set = Off
5DM2_STD
 Just as I did for the F3, I have produced a 5D Mark II look for the FS100. I chose CinemaTone2 color mode to match the colors of the 5D, and I used ITU709 with a crushed black level to match the overall gamma curve. Detail is set to +1 for this setting to match the standard sharpness effect found in the 5D. The resulting image is very saturated and the blacks are fairly crushed, so use at your own caution. Check out my settings below.
- Black Level: -6
- Gamma: ITU709
- Black Gamma: Range = High / Level = -1
- Knee: Point = 75% / Slope = +1
- Color Mode: Type = CinemaTone2 / Level =8
- Color Level: +2
- Color Phase: 0
- Color Depth: R=-2, G=-6, B=-7, C=0, M=+2, Y=+5
- WB Shift = All 0
- Detail = Level = +1 / Manual Set = Off
5DM2_TEC
 Technicolor's CineStyle image profile for the 5D Mark II is very popular, so I decided to match the look as closely as possible with particular attention to the gamma range and matrix. The result is a very desaturated image with very high black levels. Check out my settings below.
- Black Level: -2
- Gamma: CinemaTone1
- Black Gamma: Range = High / Level = +7
- Knee: Point = 75% / Slope = 0
- Color Mode: Type = CinemaTone2 / Level =8
- Color Level: -6
- Color Phase: +1
- Color Depth: R=-2, G=-6, B=-7, C=0, M=+2, Y=+5
- WB Shift = All 0
- Detail = Level = +1 / Manual Set = Off
JR45CINE
 We've been creating scene files for the Panasonic VariCam for years with the same name. First created by our lead tech, Jesse Rosen, the JR45CINE file is still very popular in VariCams all over the world. This file is designed to match that look as closely as possible. I've combined the CinemaTone2 gamma with some color adjustments to get as close as possible. I think the results look quite nice. Check out my settings below.
- Black Level: -3
- Gamma: CinemaTone1
- Black Gamma: Range = High / Level = 0
- Knee: Point = 102.5% / Slope = -1
- Color Mode: Type = Standard / Level =8
- Color Level: +3
- Color Phase: +1
- Color Depth: R=-2, G=-6, B=-7, C=0, M=+2, Y=+5
- WB Shift = All 0
- Detail = Level = -3 / Manual Set = Off
