icon account icon cash icon cart icon cart icon search main arrow arrow check icon camera icon light icon audio icon computer icon storage icon discount icon facebook icon twitter icon linkedin icon vimeo icon youtube icon instagram icon google plus icon share icon email icon print icon time icon phone icon email-m icon marker-m icon pdf icon remove icon comment icon out icon-status icon-star icon-switch pie-chart line-chart icon-user icon-user-1 icon-warning expand-arrow-1 expand-arrow-2 icon-upload icon-download icon-none icon-date-scheduled icon-date-available icon-is-hazardous
Header image for article At the Bench: Loading LUTs on a RED with IPP2 Workflow

At the Bench: Loading LUTs on a RED with IPP2 Workflow

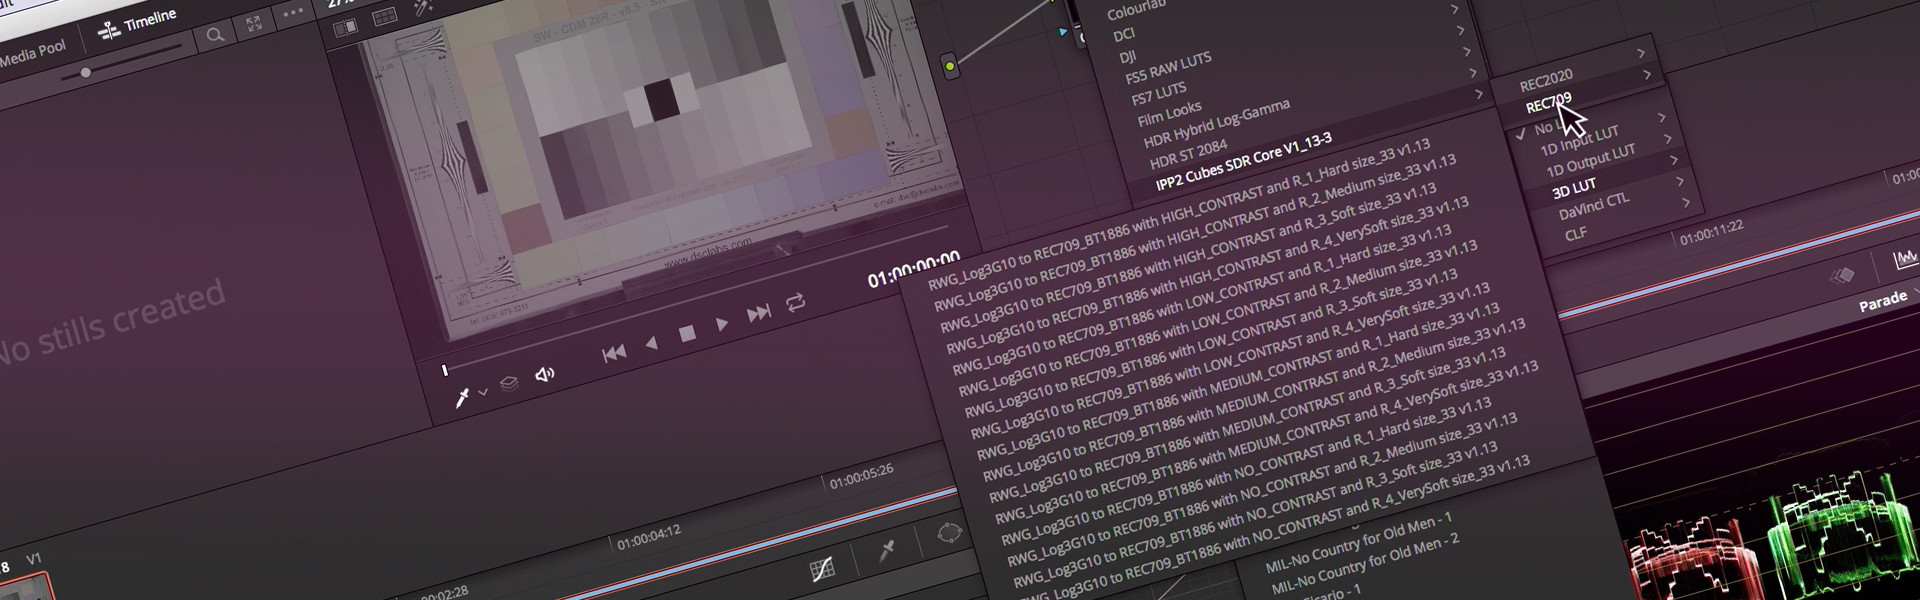
RED's new IPP2 workflow, which is supported in-camera with the latest RED DSMC2 bodies brings a lot to R3D workflows. One of the most important features is the ability to load a custom 33-sided 3D LUT in .cube format into the camera for viewing. In this blog, I show you two scenarios for on set and off set LUT creation.

In part one of the video, I use Pomfort LiveGrade to create a look, which then I load into the camera and bring up on the LCD display and a monitor via the camera's HD-SDI output. Next, I show how LUTs for IPP2 are created in DaVinci Resolve and review the process for loading into the camera and displaying them.

Note: All R3D files can be put into the IPP2 workflow in post, in applications like RED Cine-X Pro or DaVinci Resolve 15.x, even if shot on older bodies that don't support the new image processing pipeline in-camera.

Ian McCausland
Technology Specialist, AbelCine LA

AbelCine encourages comments on our blog posts, as long as they are relevant and respectful in tone. To further professional dialog, we strongly encourage the use of real names. We reserve the right to remove any comments that violate our comment policy.