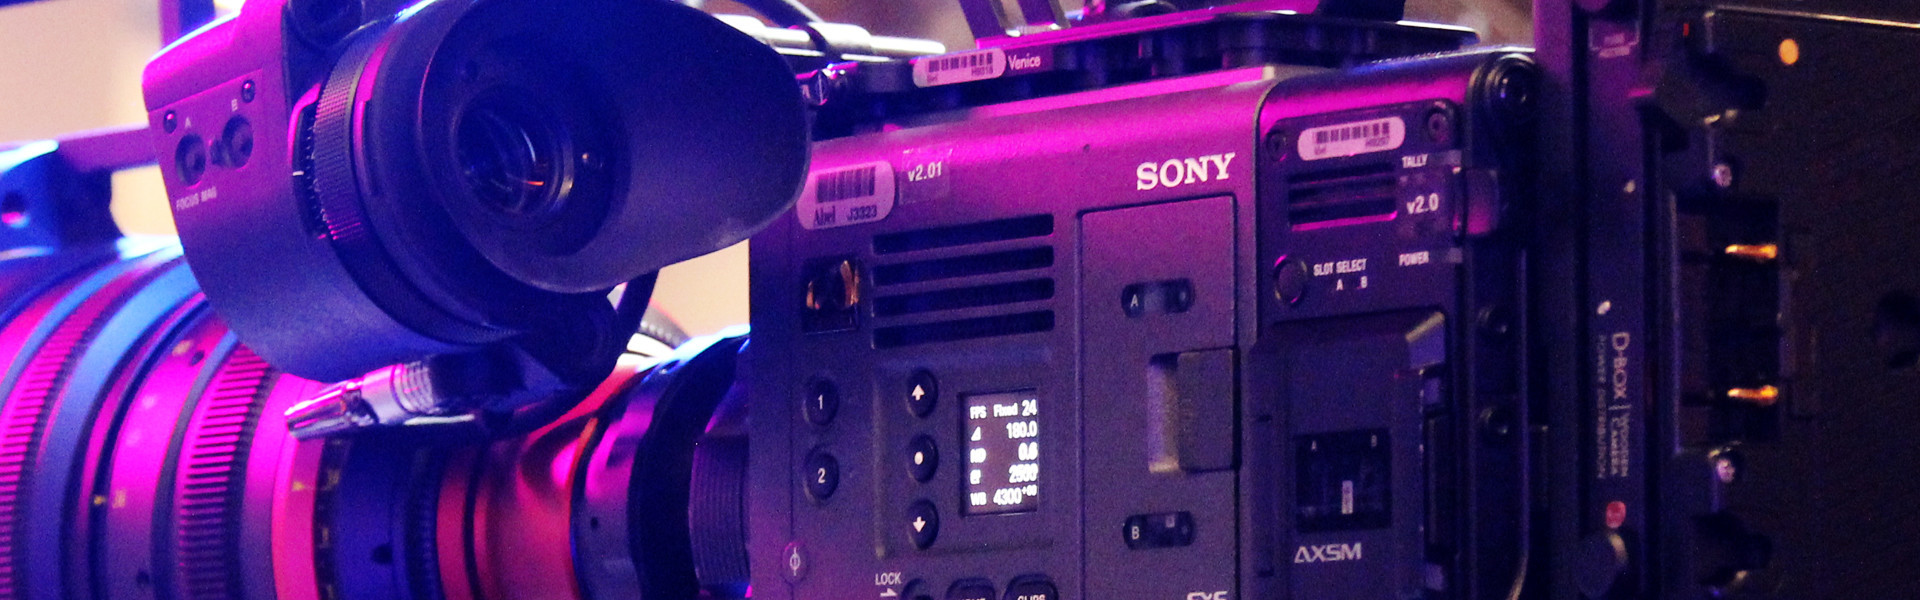
A few years ago, Sony released a second-generation external recorder for the F55, the AXS-R7, which enabled recording in RAW as well as a new format called X-OCN (eXtended tonal rangeOriginal Camera Negative). This format has all the benefits of the 16-bit RAW format but in a smaller package.
The AXS-R7 works on the VENICE, and X-OCN allows the camera to record in higher resolutions, up to 6K. In the latest firmware for the VENICE, version 3.0, there is a new, even higher quality flavor of X-OCN called XT. This gives you three flavors of X-OCN: XT, ST, and LT. The abbreviations are pretty clear here: XT is the highest quality; LT is your 'lite' version, and ST is the standard quality. All offer impressive quality at reasonable data rates. You can read more about firmware version 3.0 in Geoff's blog.
In this blog, I give a quick guide to working with the VENICE in the X-OCN format. I also lay out support for the format in AVID, Premiere, FCP, and Resolve.
Camera Recording Setup
First things first, the VENICE has many recording options, so we need to dial in exactly what we want. In this example, I set up the camera to record a 6K 17:9 image to AXS cards, while also recording a ProRes 422 HD proxy on SxS. This is my preferred setup for working with the VENICE when recording in RAW or X-OCN, because it gives lots of flexibility in post. To set this up, go to the Project Menu on the side panel (Menu>Project).
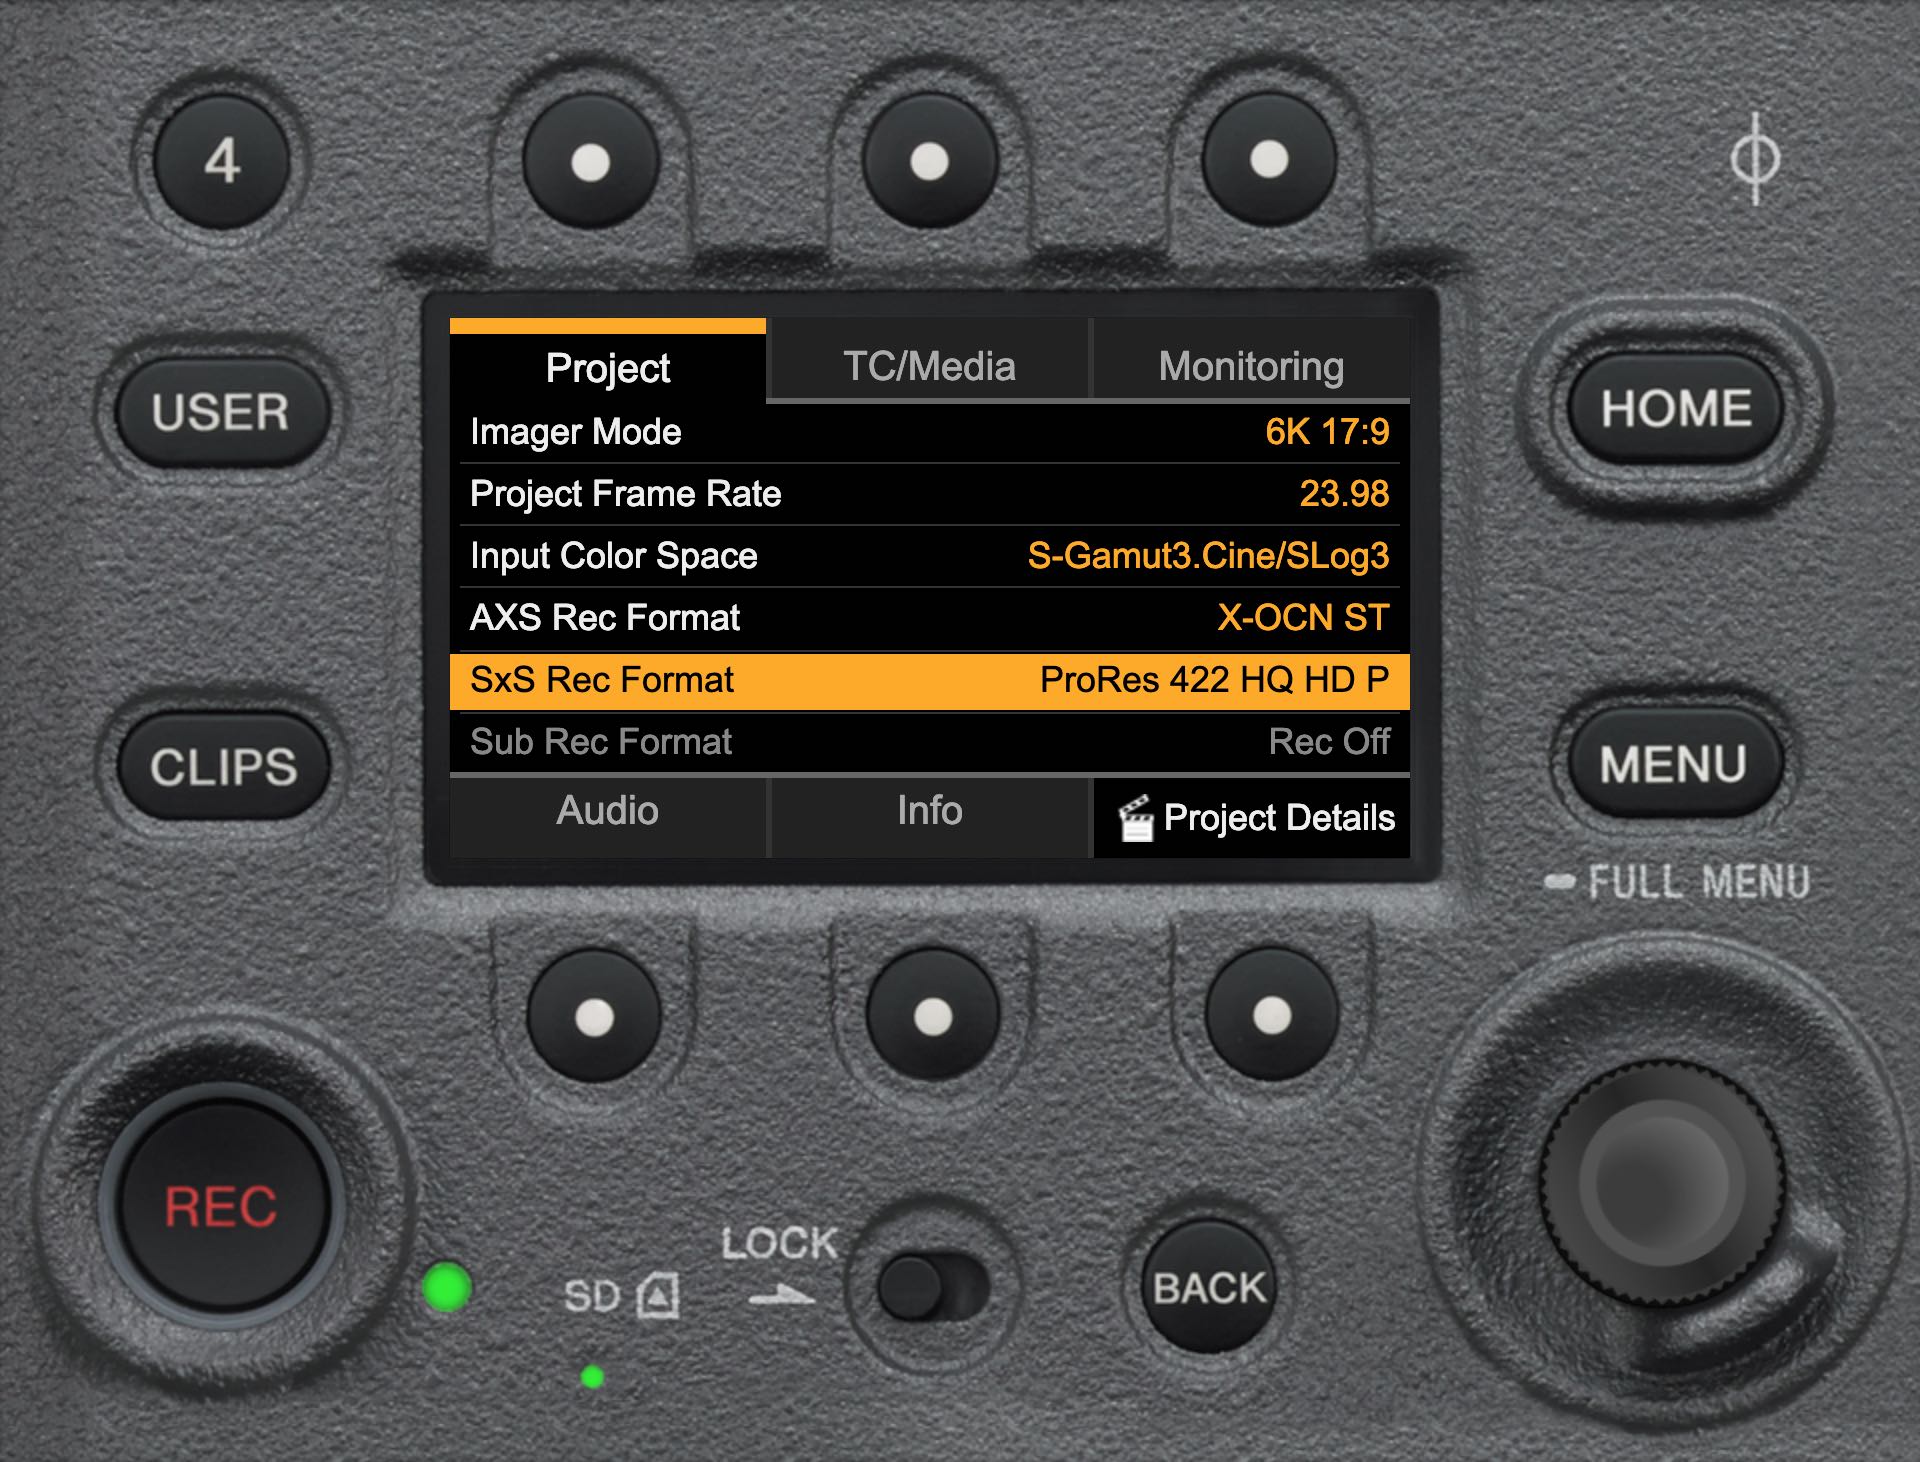
Notice I've set my imager mode to 6K 17:9; this is what I'm going to record in my AXS Record Format (on the R7). I've set my SxS recording to ProRes 422 HQ HD P; this will scale down the full 6K image to regular old HD (great for editorial). If you just want to record 4K images, which is common if you are using Super 35mm lenses or if you need higher speeds (up to 60p now), then set the Imager Mode to 4K 17:9 or 16:9. As for the SxS Recording, you can also set it to XAVC 4K in 300 or 480 modes, which gives you a very high quality format as well. There is an option here for 'Sub Rec Format,' which you can see is grayed out. This is only enabled when not recording in RAW or X-OCN, and it will give you a ProRes proxy option. Like I said, there are many possibilities here but a mix of X-OCN on the AXS cards and ProRes on SxS is my favorite in any resolution.
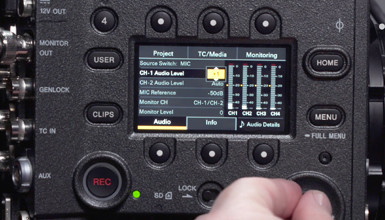
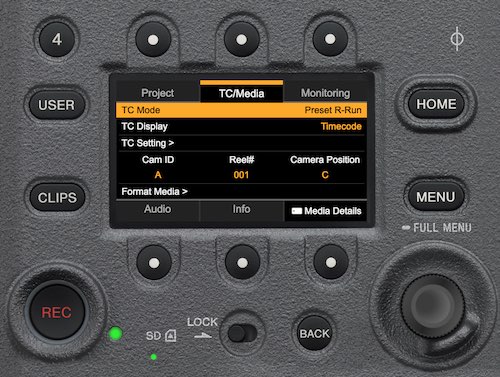
You should also set up your camera naming under the TC/Media menu on the side panel (Menu>TC/Media). The camera letter, reel number, and position are all used in clip naming.
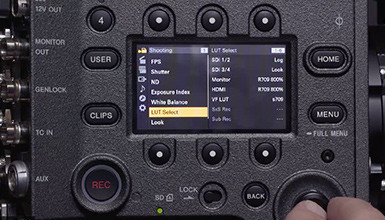
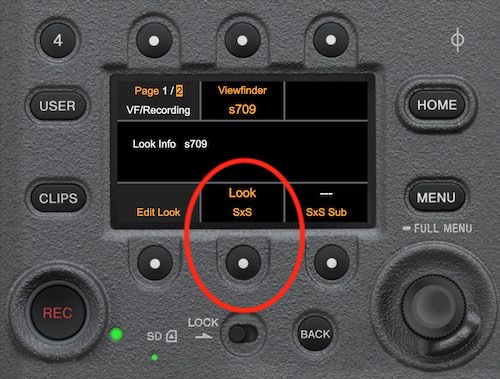
You'll also want to decide what 'Look' should be put on your SxS media. You can choose to record in Log on the SxS cards or bake in whatever look you are using on set. This is an important decision so make sure you think through the full workflow pipeline before deciding the best path. Because I plan on editing in ProRes, I'm going to add the look to my recording. To adjust this setting, go to the Look menu and you'll find the setting on Page 2.

Camera Files
Clips are written to both AXS and SxS in this workflow, but the clips are stored slightly differently in each format. The AXS media is named based on the Cam ID, Reel #, and position set in the TC/Media menu. This is also true of the base folder on the card.

The SxS clips land in the XDROOT -> Clips folder, which should be familiar with anyone who has worked with Sony cameras before.
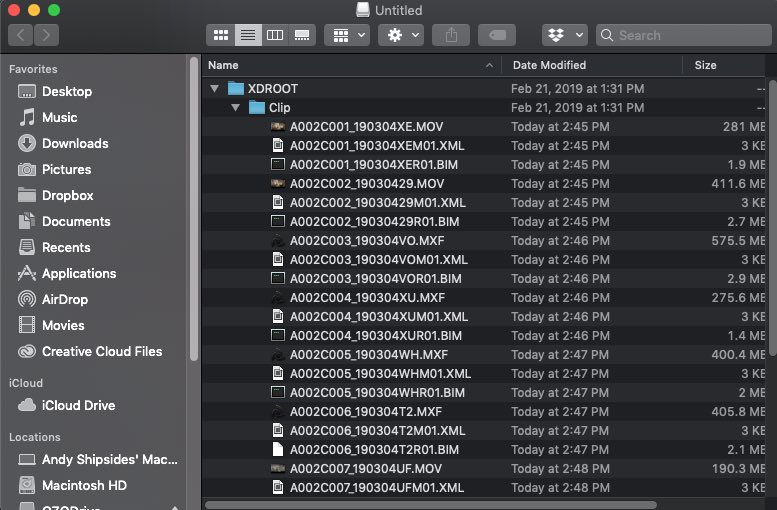
Notice that the file names match between the two cards, which makes the workflow that much easier when using the ProRes content for editing.
Sony RAW Viewer
Sony's RAW Viewer is an essential tool for anyone working with Sony RAW or X-OCN formats. It allows you to quickly view content, see metadata, apply a look, and export that data in various formats. If you've used the RAW Viewer for working with F55 or F65 RAW content, then you'll be happy to know that working with X-OCN is no different.
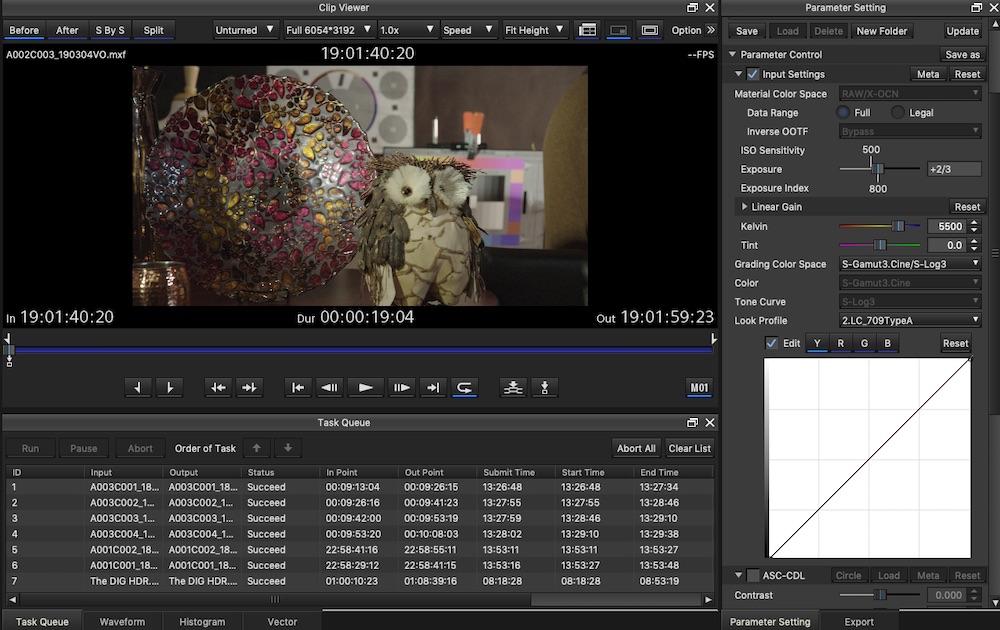
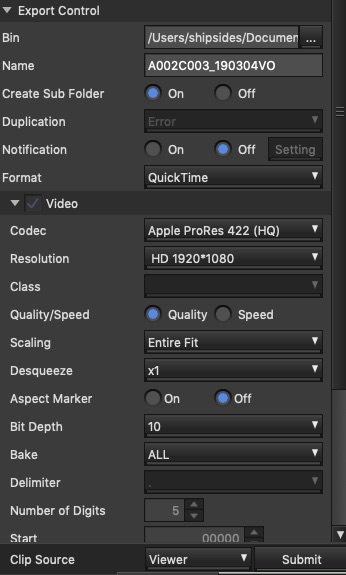
Just open up clips, and you can see metadata and adjust color settings easily. It is also easy to export clips in a variety of formats.
Avid Media Composer
Through the latest free AMA plugin for Avid Media Composer, you can work with the X-OCN footage from the camera directly. I don't recommend working in X-OCN for editing in Avid, but this can be used as part of your finish process. First download and install the AMA plugin for Sony RAW formats. The latest version even supports X-OCN XT. After installation, you'll be able to link to the content directly through the source browser (Input-> Source Browser).
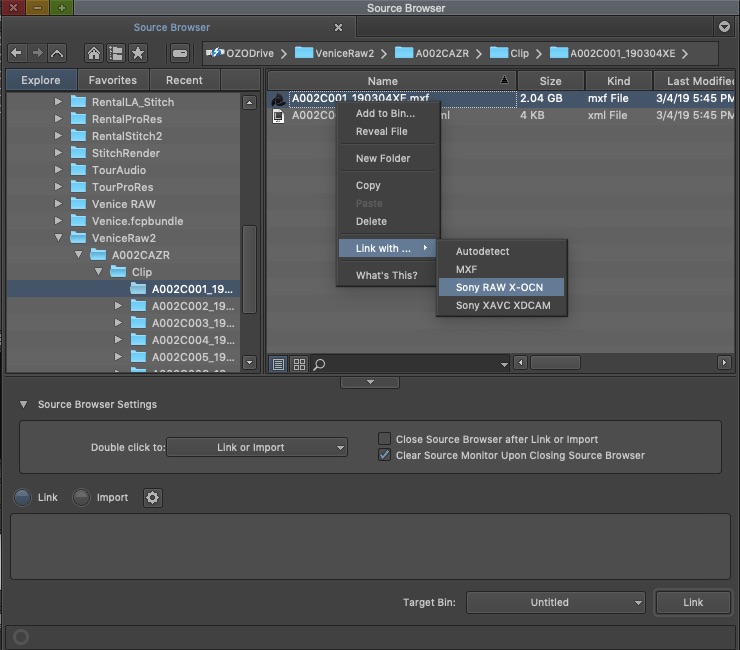
To properly link the footage, make sure to right (option) click on the MXF files and select Link with > Sony Raw X-OCN. After this is selected, you can then link to the clip and import into your bin. You'll find that by default Avid applies a basic Rec709 look to the clip; this can be adjusted in Source Settings.
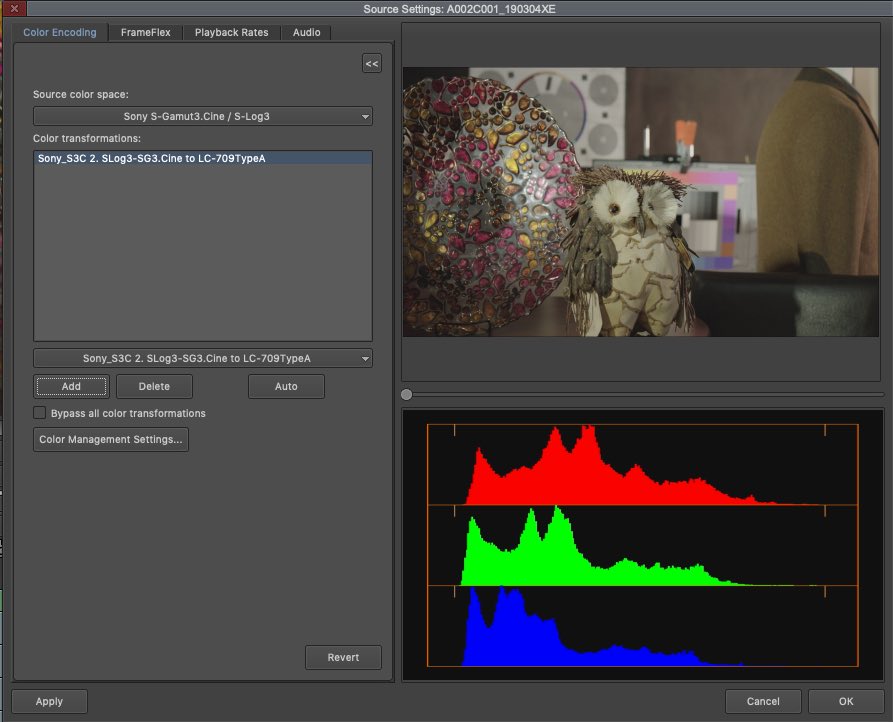
In the Source Settings, you can adjust the source color space and color transformations. In this example, the source is S-Gamut3.Cine/S-Log3, which matches my camera settings, and I'm converting it to LC-709TypeA color with a Sony LUT that is built in.
Adobe Premiere
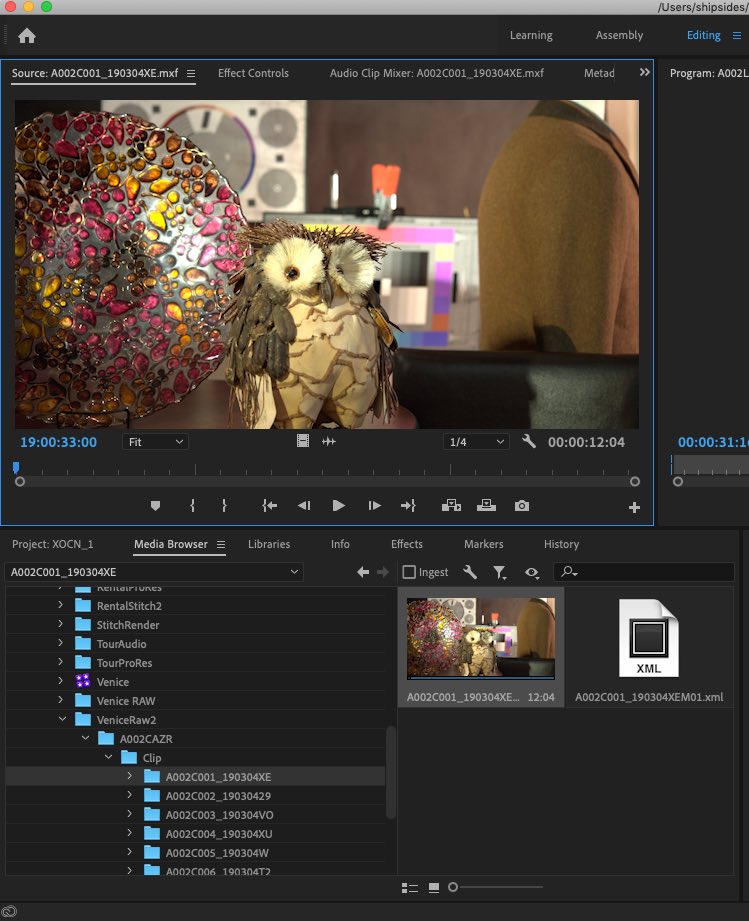
Just like Avid, you can work natively in X-OCN formats in Premiere. But again I would not recommend using this to edit with, just part of your finishing process. Importing the X-OCN format is as easy as importing any other media into Premiere. Just locate the clips in your media browser and import them.
By default, Adobe applies a 709 look to the clip. You can adjust this under Effect Controls.
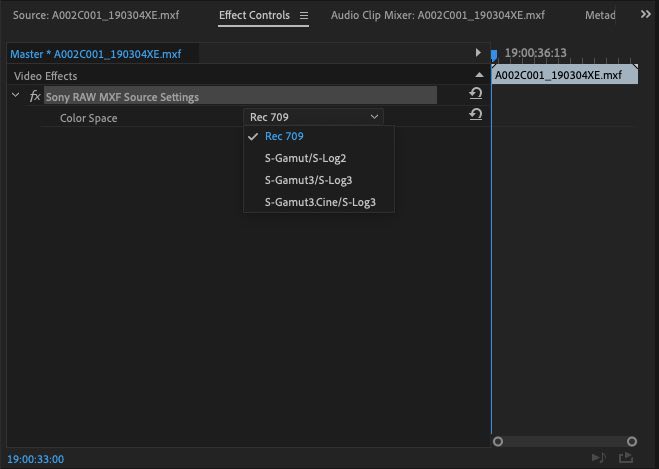
As of the writing of this article, Premiere (v13.0.3) does not support X-OCN XT, but I'm assuming this will be addressed in an upcoming release.
FCP X Support
FCP X does not currently support the X-OCN format. I recommend editing with the ProRes media and then finishing in Resolve or another color grading/finishing tool.
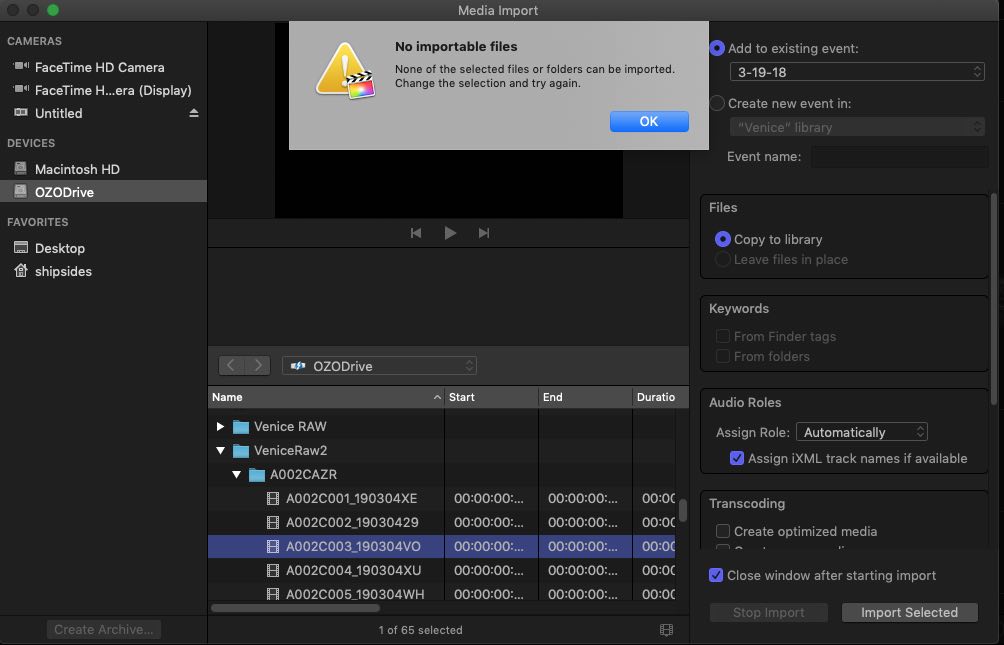
If you didn't record a ProRes proxy, you can convert the full quality X-OCN format into ProRes via the Sony RAW Viewer for editorial. Then conform back to X-OCN in a finish tool like Resolve.
Resolve Support & Finishing
Last but not least, the latest version of Resolve (v15.3) works well with all flavors of X-OCN, including X-OCN XT. You can easily import footage via the Media tab as you would any other footage.
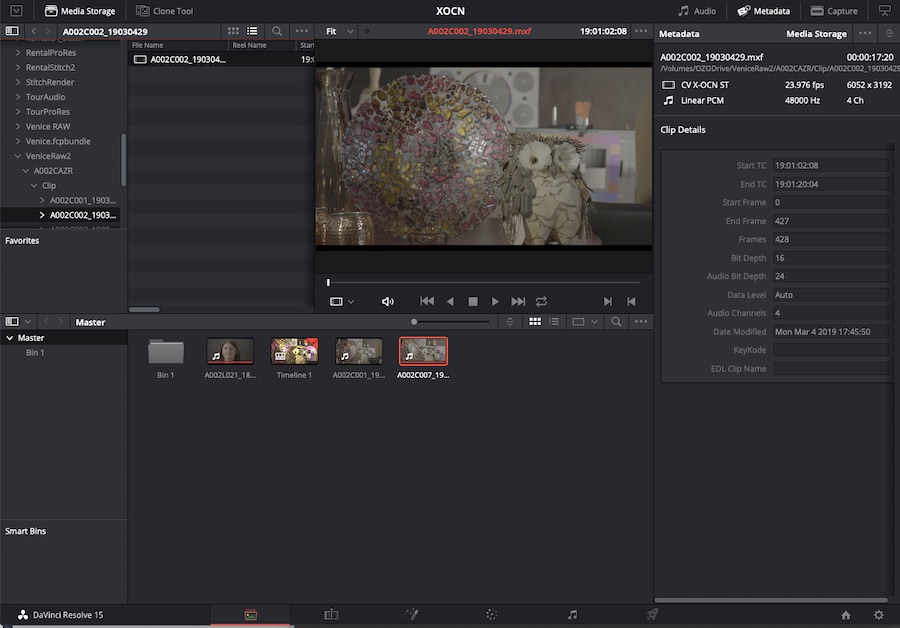
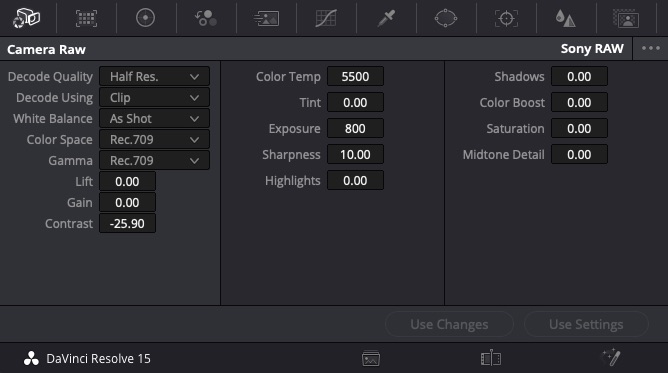
And you can make RAW decode adjustments in the Camera RAW tool on the color panel. X-OCN has the same workflow here as Sony RAW.
Considering how new X-OCN is, especially the XT flavor, it's great to see such broad support for the format. X-OCN has clearly been embraced across the industry, and it's easy to see why: X-OCN provides a robust and flexible RAW workflow with options to fit your budget and project requirements – both in camera as well as in post.