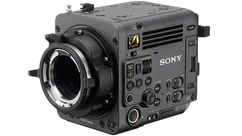
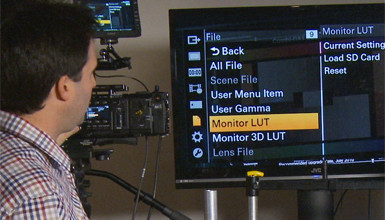
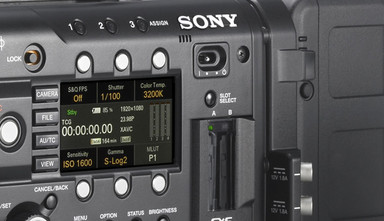
The F5 & F55 workflows are similar to that of the F3 and XDCAM EX cameras, but with some significant changes. Below, I outline how to ingest footage onto a hard drive and how to import into Avid Media Composer 6.5, Final Cut Pro X, Final Cut Pro 7 and Premiere CS6. Keep reading for a brief how-to on each process.
Downloading F5/F55 SxS Recorded Footage
Sony has updated their Content Browser v2.0, which is a piece of software used to play back and download clips off their original media. It also has the ability to view clip metadata, mark timecode, and export clips to Final Cut Pro. Content Browser v2.0 has support for both MPEG2 and XAVC, however Sony licensed some software to add the XAVC playback, so there is a $20 charge to purchase it. Good news though - from now until June, it is available for free! You can also download Content Browser v1.1 if you're only going to work with MPEG2.
The F5 & F55 record to SxS cards, so you'll need a Sony SxS card reader, Echo Thunderbolt Card reader, or a computer equipped with an ExpressCard 34 slot to start. Make sure you download the latest SxS drivers from Sony's website and keep in mind that the F5/F55 formats cards in exFAT, which a universal format for both Mac and PC.
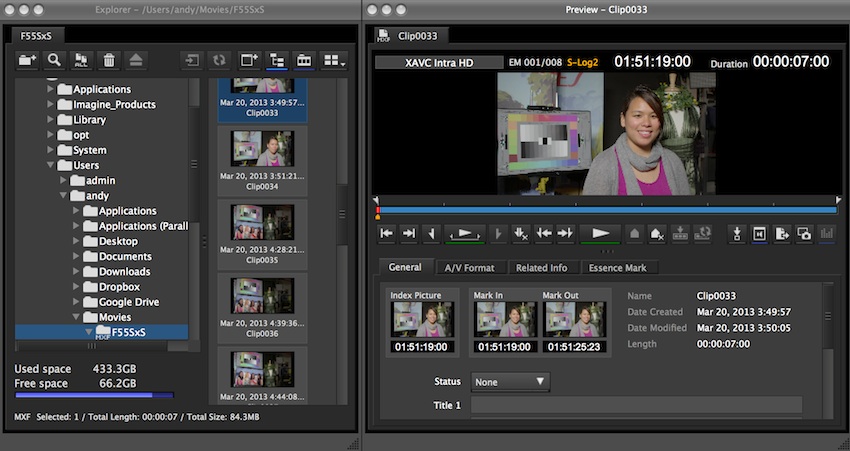
When you launch Content Browser, you'll see the window below.
 In the image above, I have loaded up an SxS, which I had already downloaded. The Explorer box allows me to locate SxS cards that are attached to my computer or that have been previously downloaded. The Preview box in the upper right allows me to play back my clips, view properties and edit some metadata. Content Browser can be used to download your SxS card securely - the first step is to open the Preferences panel and go to the Edit tab. This is what you should see:
 Here you'll find an option to set the Destination Folder for copying a card - just click on the '...' button to choose. I recommend selecting the Data Protection button at the top and checking the box for Perform CRC Check After Copy. These settings will give you the most secure transfer.
Now, you can close the Preferences panel and, in the Explorer box, locate the SxS card you'd like to copy. Click the Copy All button on the upper left, and you'll be prompted to choose a destination folder (by default the destination is whichever folder you set in the last step).
 Content Browser will copy your SxS card to the chosen destination under a unique folder name based on the time and date. This is a safe transfer so it may take some time to copy; times will vary based on your computer, transfer device, hard drive speed, and interface, along with the type of SxS card you are using. You can also try a program like ShotPut Pro for a fast and reliable copy. Since Content Browser can be used to import footage into FCP 7 and FCP X, that's the first NLE we will look at.
Final Cut Pro 7
MPEG 2 Importing
Final Cut Pro 7 does support MPEG 2, but there's no official support for XAVC right now. However, there is a process that will allow you to work with it, which I will outline below.
To bring your MPEG2 footage into Final Cut Pro 7, we'll use Content Browser, which creates MOV versions of our MPEG2 files. Log & Transfer will not work with F5/F55 footage. Now open up Final Cut Pro and go to File Menu -> Import -> Sony Content Browser. This will launch Content Browser.
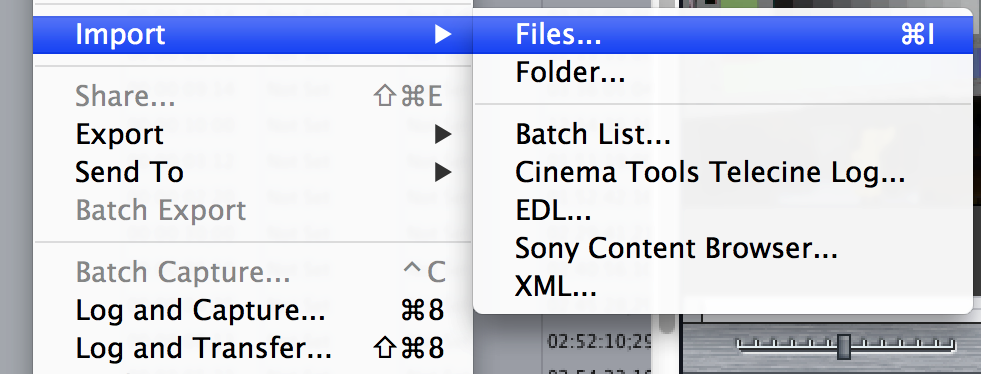 Next, open the Preferences window in Content Browser and look for the FCP tab.
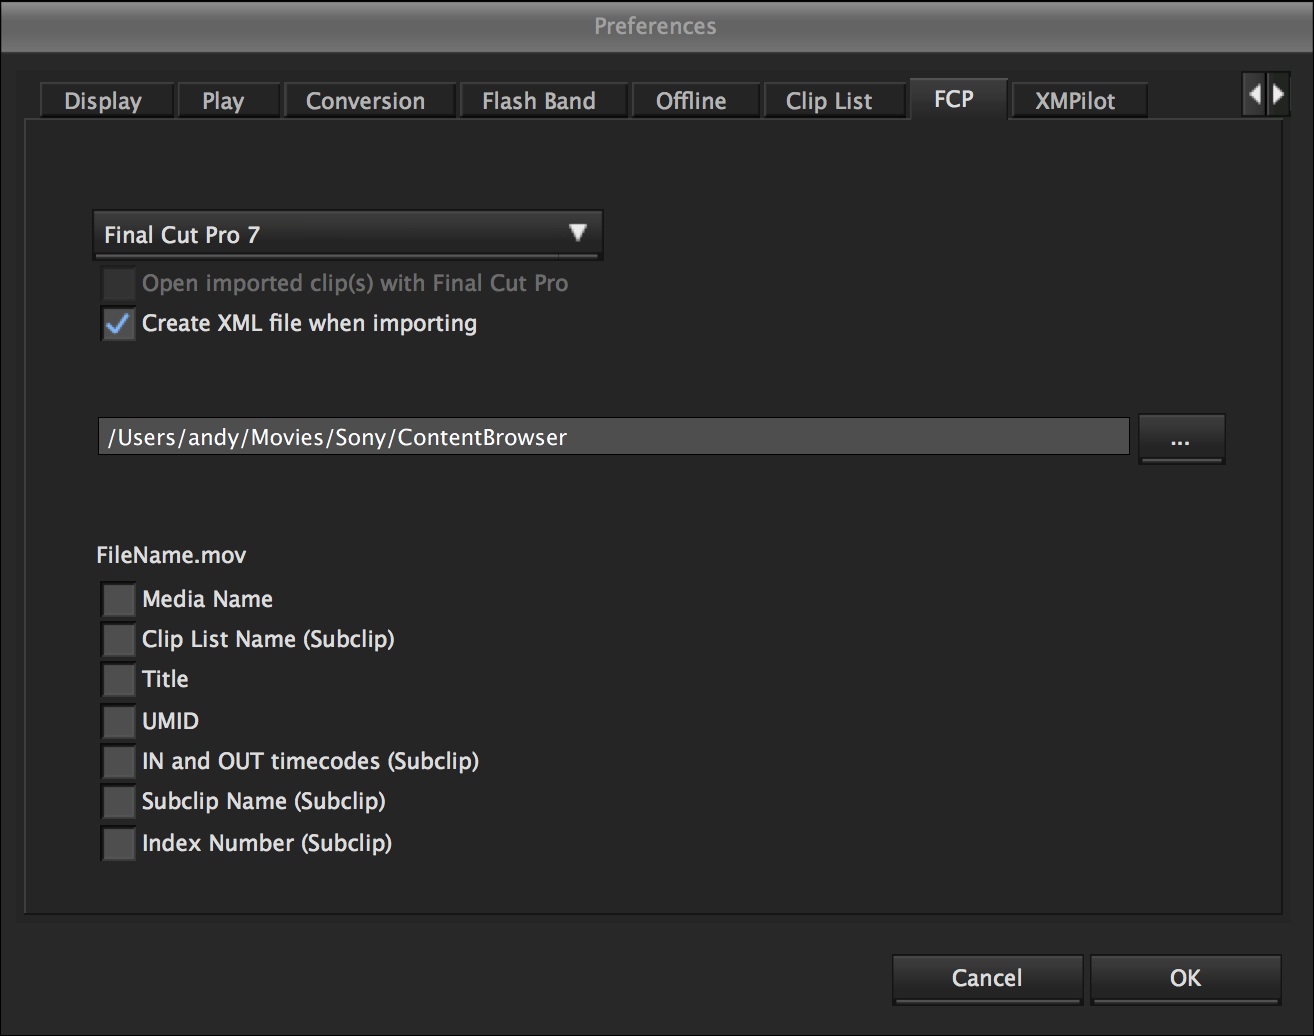 Select Final Cut Pro 7 from the drop down box, and choose a path for where you want the MOV versions of the clips to be created. You can edit the names of the resulting files by checking any of the boxes at the bottom of the window. Once you're done here, exit the Preferences panel and load up an SxS card as described above. Once you have clips in the Explorer tab of Content Browser, select the ones you want to import, and choose Import into Final Cut Pro from the Clip menu.
 This will open a new window where you can choose any open FCP 7 project as a destination for your clip. Only FCP 7 projects that you have open will appear on the list. Hit Execute and the clips will be converted to MOV and added to the FCP 7 project that you selected. Note that the conversions will go to the destination you selected in the previous step. Once this is complete, you'll be able to edit the MPEG2 files right in FCP 7.
XAVC Importing
Apple just released support for XAVC in Final Cut Pro X, and with this addition they also added general QuickTime support for XAVC in HD resolutions (not 4K). To download this update you'll need to have at least FCP 7 installed on your Mac. Check the App store for updates, and you should see an update that lists support for XAVC. If it doesn't show up, I suggest purchasing the latest version of Apple Compressor, which will add all the codec support you need. You'll also need a piece of software that will allow you to read MXF files on your Mac, since all clips from the F5/F55 are wrapped in MXF. I suggest using Calibrate{Q} MXF Import for Mac - it is paid software, but they do have a free demo that is worth trying out.
After you have those two pieces of software installed, you should be able to preview XAVC HD clips in your Finder window. If this works then it will work in FCP 7 too. To import into FCP 7, simply choose File -> Import and locate the original MXF files from the camera. The MXF files are located under the XDROOT -> Clips folder of each original SxS card.
 When you import XAVC Clips, you'll get an error that says "The following media files are not optimized for Final Cut Pro." This means they may not edit easily.
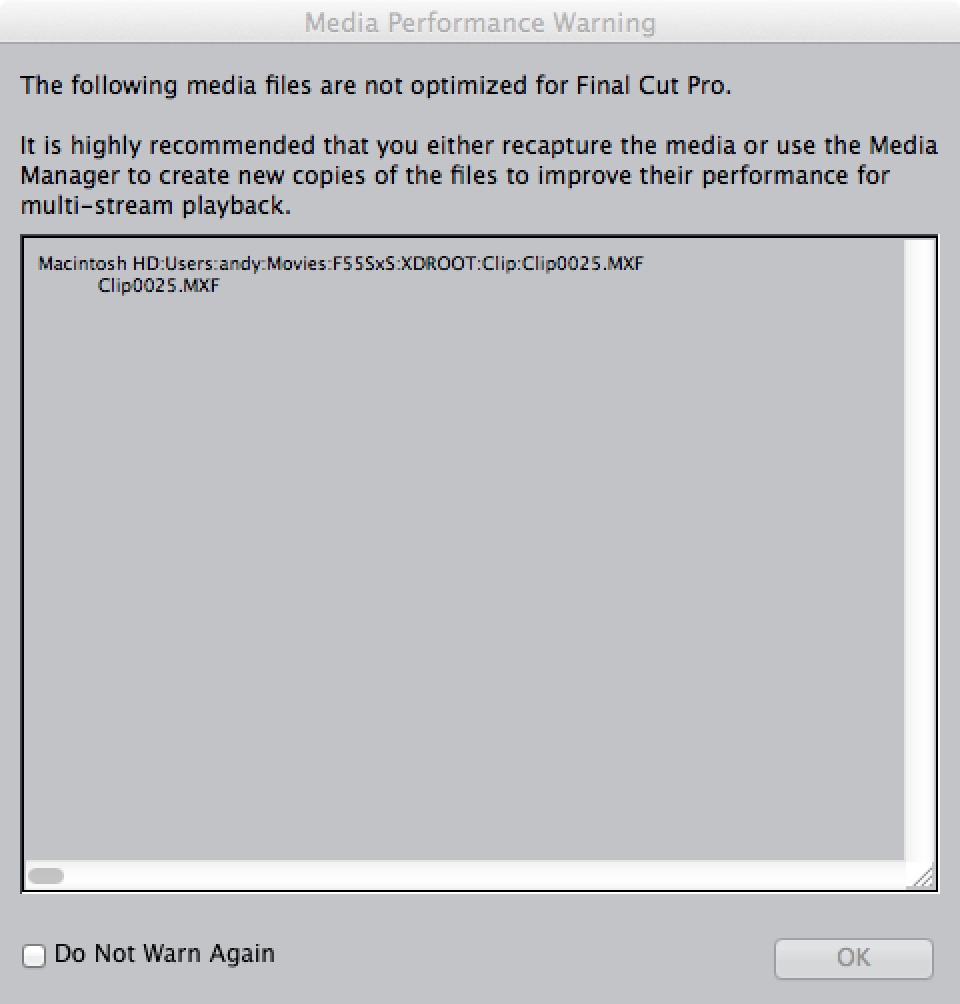 On my Retina Display MacBook Pro they play OK, but you may still want to convert. The good news is that with the MXF import tool installed, you can use Compressor to convert these same files to ProRes or whatever else you want to edit in.
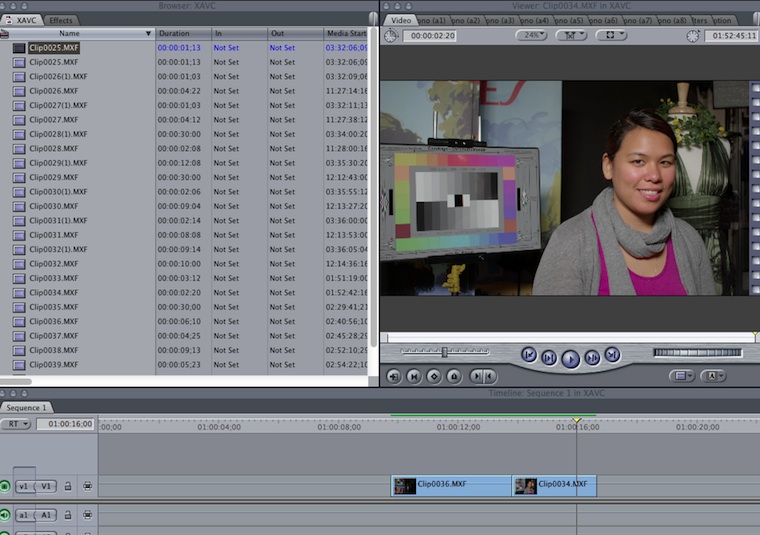 A reminder: XAVC 4K files will not work in either FCP 7 or Compressor, but they will work in FCP X!
Final Cut Pro X
MPEG2 & XAVC HD/4K
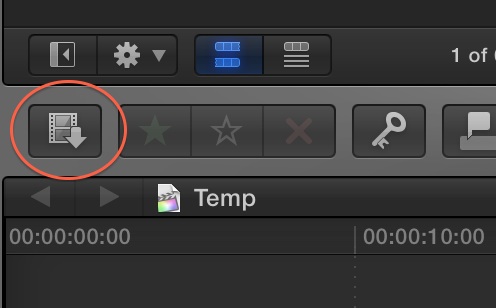
Apple just released FCP 10.0.8, which added support for XAVC HD & 4K. Make sure to update FCP X, and then visit Sony's site to download their latest import plugin PDZK-LT2 vs1.10. Once installed, launch FCP X and click the import button on the left-hand side.
 Locate your downloaded SxS card, and click on the XDROOT folder. This will list all the XAVC HD, XAVC 4K and MPEG2 clips.
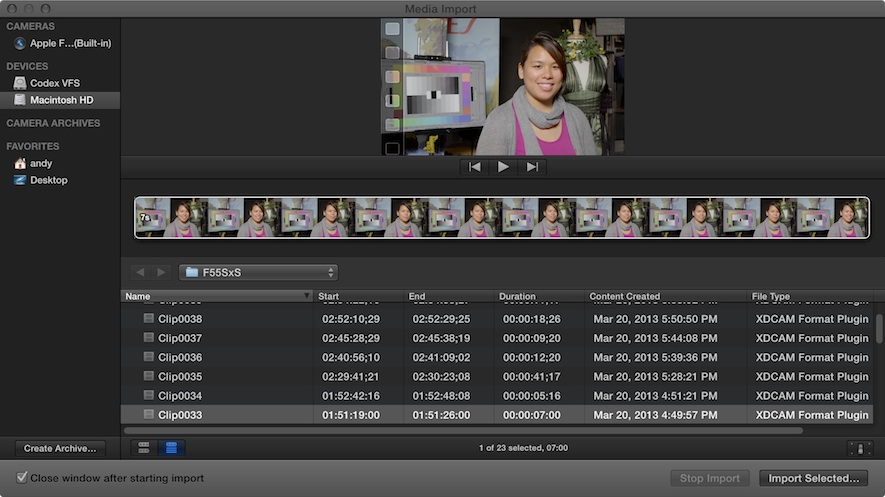 You can click on any of the clips and choose Import Selected. Another window will appear, and here you can decide if you want to have FCP copy your files into the project folder and also if you want to create Optimized Media, which will convert the files into ProRes for you.
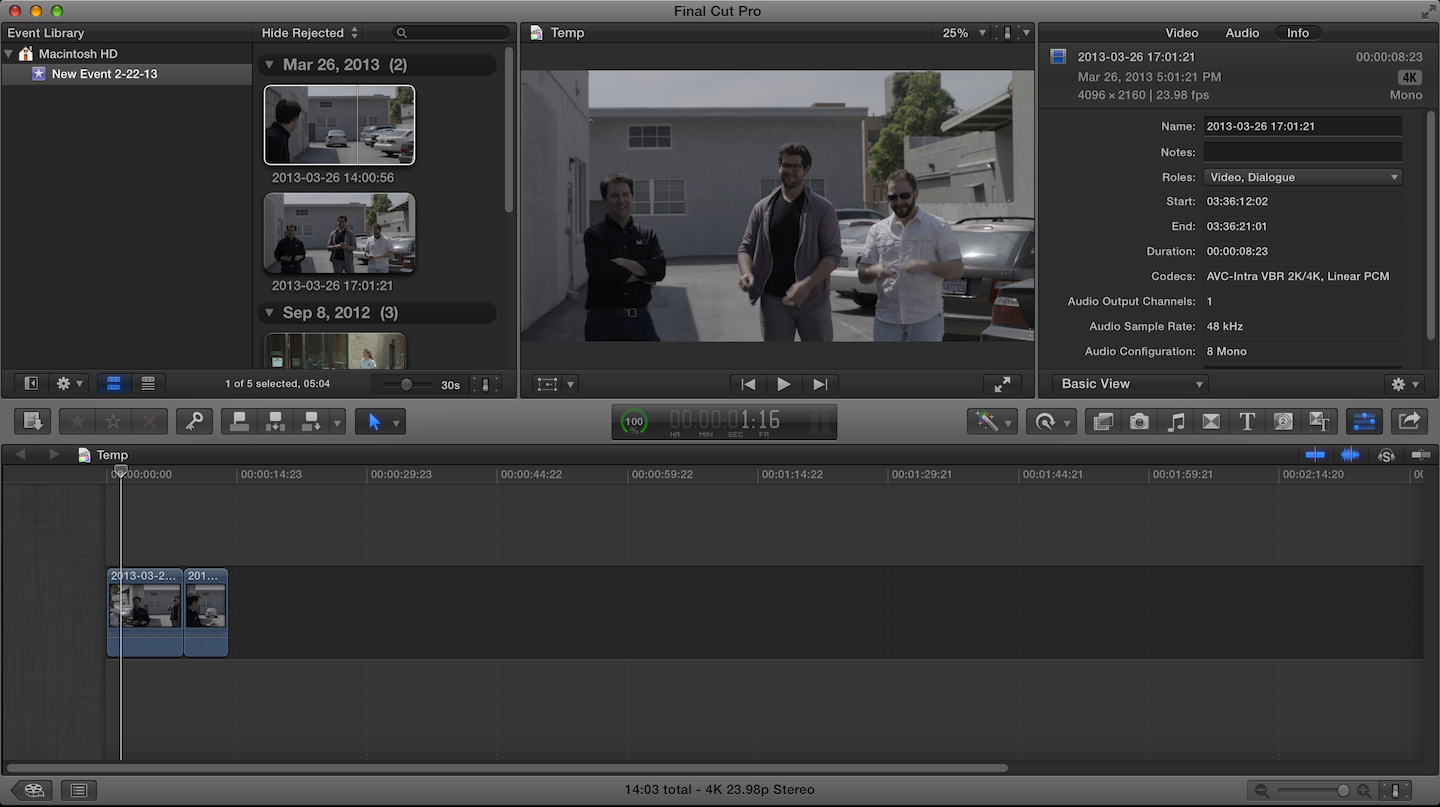
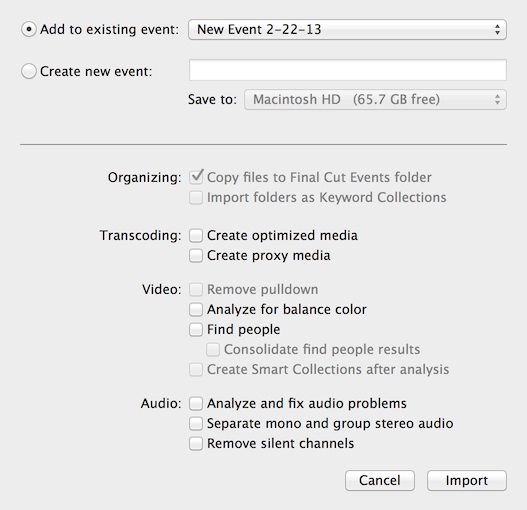 Once the files are imported, you can start editing. On my MacBook Pro, I was surprised how easily I could do a quick edit in XAVC even in 4K.
Avid Media Composer 6MPEG2 & XAVC HD
Avid has supported Sony's MPEG2 format for many years now, and was first out of the gate to support XAVC HD. Like most Avid workflows these days, video is imported via Avid Media Access (AMA). To make this work for both MPEG2 & XAVC HD you'll need to install the XAVC/XDCAM Plug-in for Avid (PDZK-MA2).
Once installed, launch Avid. When you are in Media Composer, click on AMA under settings.
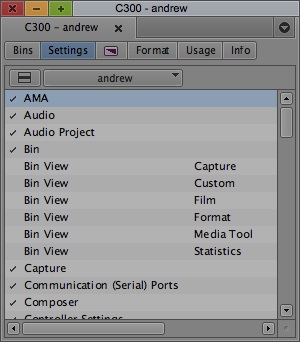 Open AMA, and click on Volume Mounting. Enable AMA Volume Management.
 Click OK. Now you can link to the footage by going to File -> Link to AMA Volume. This will open a Finder window where you can locate your footage. Once you have located your downloaded SxS card, choose the folder that contains your XDROOT folder.
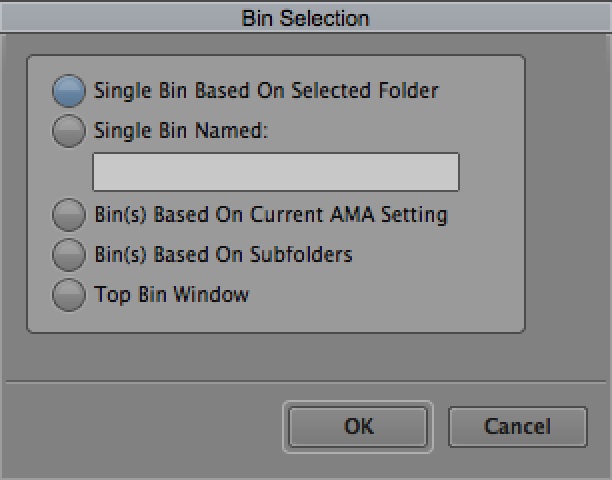
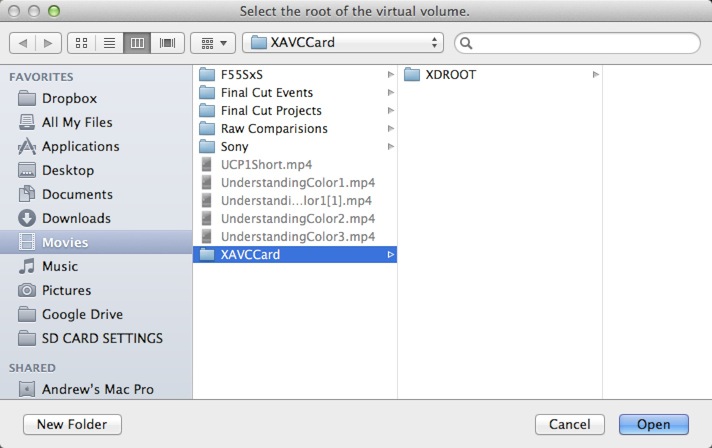 Avid will ask how you want to name the Bin that will be created from the imported footage. Keep in mind that 4K XAVC footage is not currently supported, so you will get an error if you try to import it.
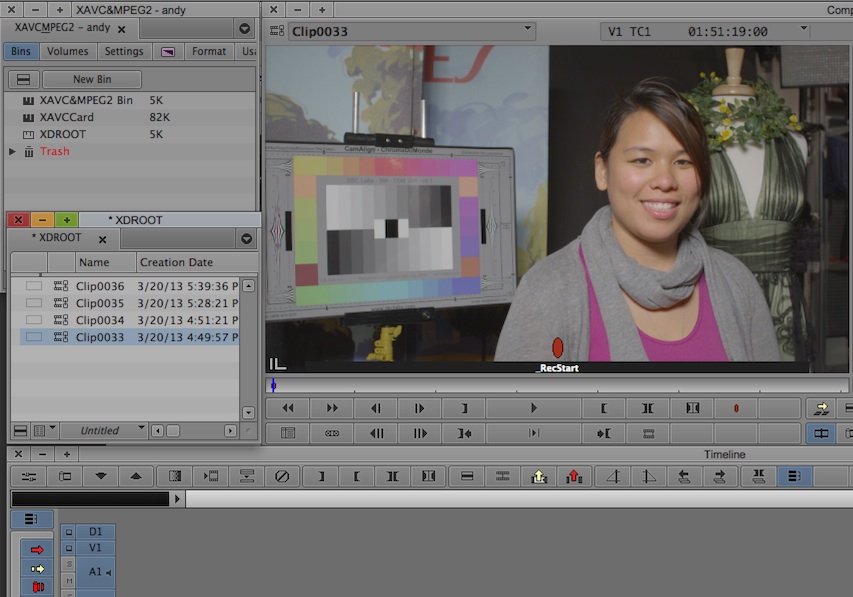
 Once your footage is imported, you can start editing as normal. This workflow should be the same on both PC and Mac versions of Avid.
Adobe Premiere CS6
MPEG2 & XAVC HD
Adobe has supported MPEG2 for some time now, but XAVC HD requires the installation of some extra software. On a Mac, you'll need to get the XAVC codec from Apple, and the only way to do that is to have either FCP or Compressor installed. This will let you work with XAVC in HD, though not 4K. On a PC, you'll need the Main Concept/Rovi Total Code plugin, which will enable XAVC in both HD and 4K.
After you've updated your computer, you can launch Premiere and start a new project. To import footage visit the Media Browser, usually located in the lower left corner. Then locate your downloaded SxS card and click the XDROOT folder.
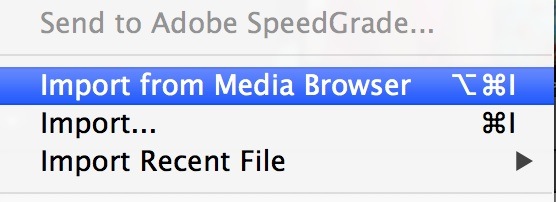
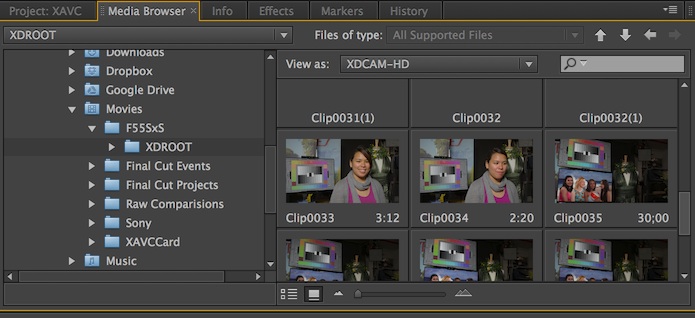 Premiere will view this folder as XDCAM HD by default. On a Mac, both the MPEG2 and XAVC HD clips will display and can be imported, while PCs with the Main Concept plugin should work with XAVC 4K & HD. To import clips, either right-click on the clip and choose Import, or select a clip(s) and go to File -> Import from Media Browser.
 Now your files are imported, and you can start editing.
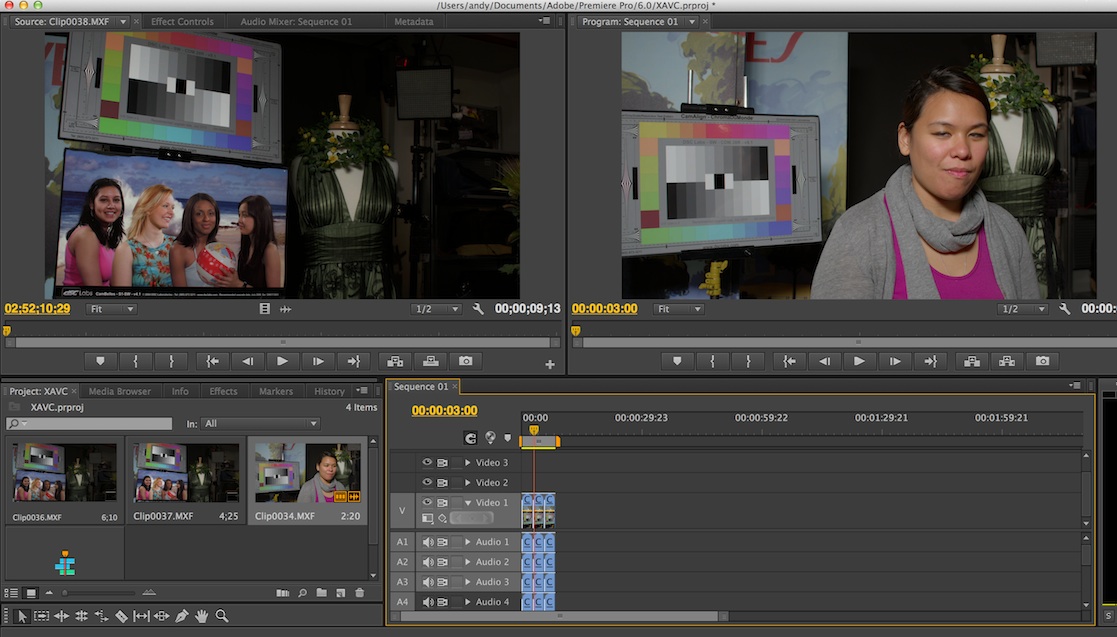 Adobe has announced that the next version of Premiere will have native support for XAVC, making this process even easier. For more info, visit their NAB Sneak Preview site.
For an even more in-depth look at the Sony F5 & F55 cameras and their workflow, make sure to check out our F5/F55 Intensive workshop coming up later this month in NY!
